Keeping equipment moving smoothly is a daily concern for plant heads, procurement teams, and maintenance engineers. When pneumatic wheels start causing wobbling, reduced load stability, or inconsistent movement, it disrupts workflows and increases strain on both operators and machinery. Small issues like slow air leaks or worn treads can turn into downtime risks that affect throughput and cost per unit.
Replacing pneumatic wheels at the right time helps prevent these disruptions and keeps equipment operating safely. Following a clear process also reduces safety risks and avoids damage to carts, lifts, or medical transport units. With the global pneumatic wheels market projected to reach USD 516.47 billion by 2030, ensuring timely replacements has become essential.
Whether you’re managing a large facility or handling routine maintenance, knowing how to replace pneumatic wheels properly ensures consistent performance and supports long-term equipment reliability. This guide provides a detailed, step-by-step approach to replacing pneumatic wheels safely and efficiently.
Key Takeaways:
Pneumatic wheels provide cushioning, traction, and smoother mobility, making them ideal for industrial, medical, and commercial equipment.
Replacing pneumatic wheels safely involves a step-by-step process covering preparation, lifting, disassembly, mounting, and proper inflation.
Regular inspection and maintenance prevent rust, misaligned beads, and incorrect tire pressure, keeping performance reliable.
Properly maintained pneumatic wheels improve uptime, support load stability, reduce operator strain, and enable smooth movement across surfaces.
What Are Pneumatic Wheels?
Pneumatic wheels are wheels that use air-filled tires to provide cushioning, better traction, and smoother mobility compared to solid wheels. They are commonly used in equipment that needs to carry varying loads across industrial floors, warehouses, hospitals, or outdoor terrain.
Key Components of Pneumatic Wheels
Understanding the main components of pneumatic wheels helps identify the parts that require attention during replacement.
Key parts include:
Tire: The air-filled portion of the wheel that provides cushioning and grip. It absorbs shocks from uneven surfaces, reducing stress on equipment and operators.
Rim: The metal structure that holds the tire securely in place. A well-maintained rim ensures even tire seating and prevents leaks or wobbling.
Hub: The central part of the wheel that connects to the axle or vehicle. It allows smooth rotation and supports the wheel’s load-bearing capacity.
Valve Stem: The access point for inflating or deflating the tire. Correct use of the valve stem ensures the tire maintains the recommended air pressure for optimal performance.
Side Rings/Flanges: These components secure the tire onto the rim and keep it properly seated during inflation. They prevent the tire from slipping and help maintain stability under load.
Familiarity with these components ensures proper disassembly, inspection, and reassembly without causing damage or misalignment. Next, let's discuss the tools and materials required to make the replacement process smooth and safe.
Tools and Materials Required for Pneumatic Wheel Replacement
Before starting a replacement, ensure you have all the necessary tools and materials ready. Doing so reduces downtime and ensures the job goes smoothly.
Common tools/materials include:
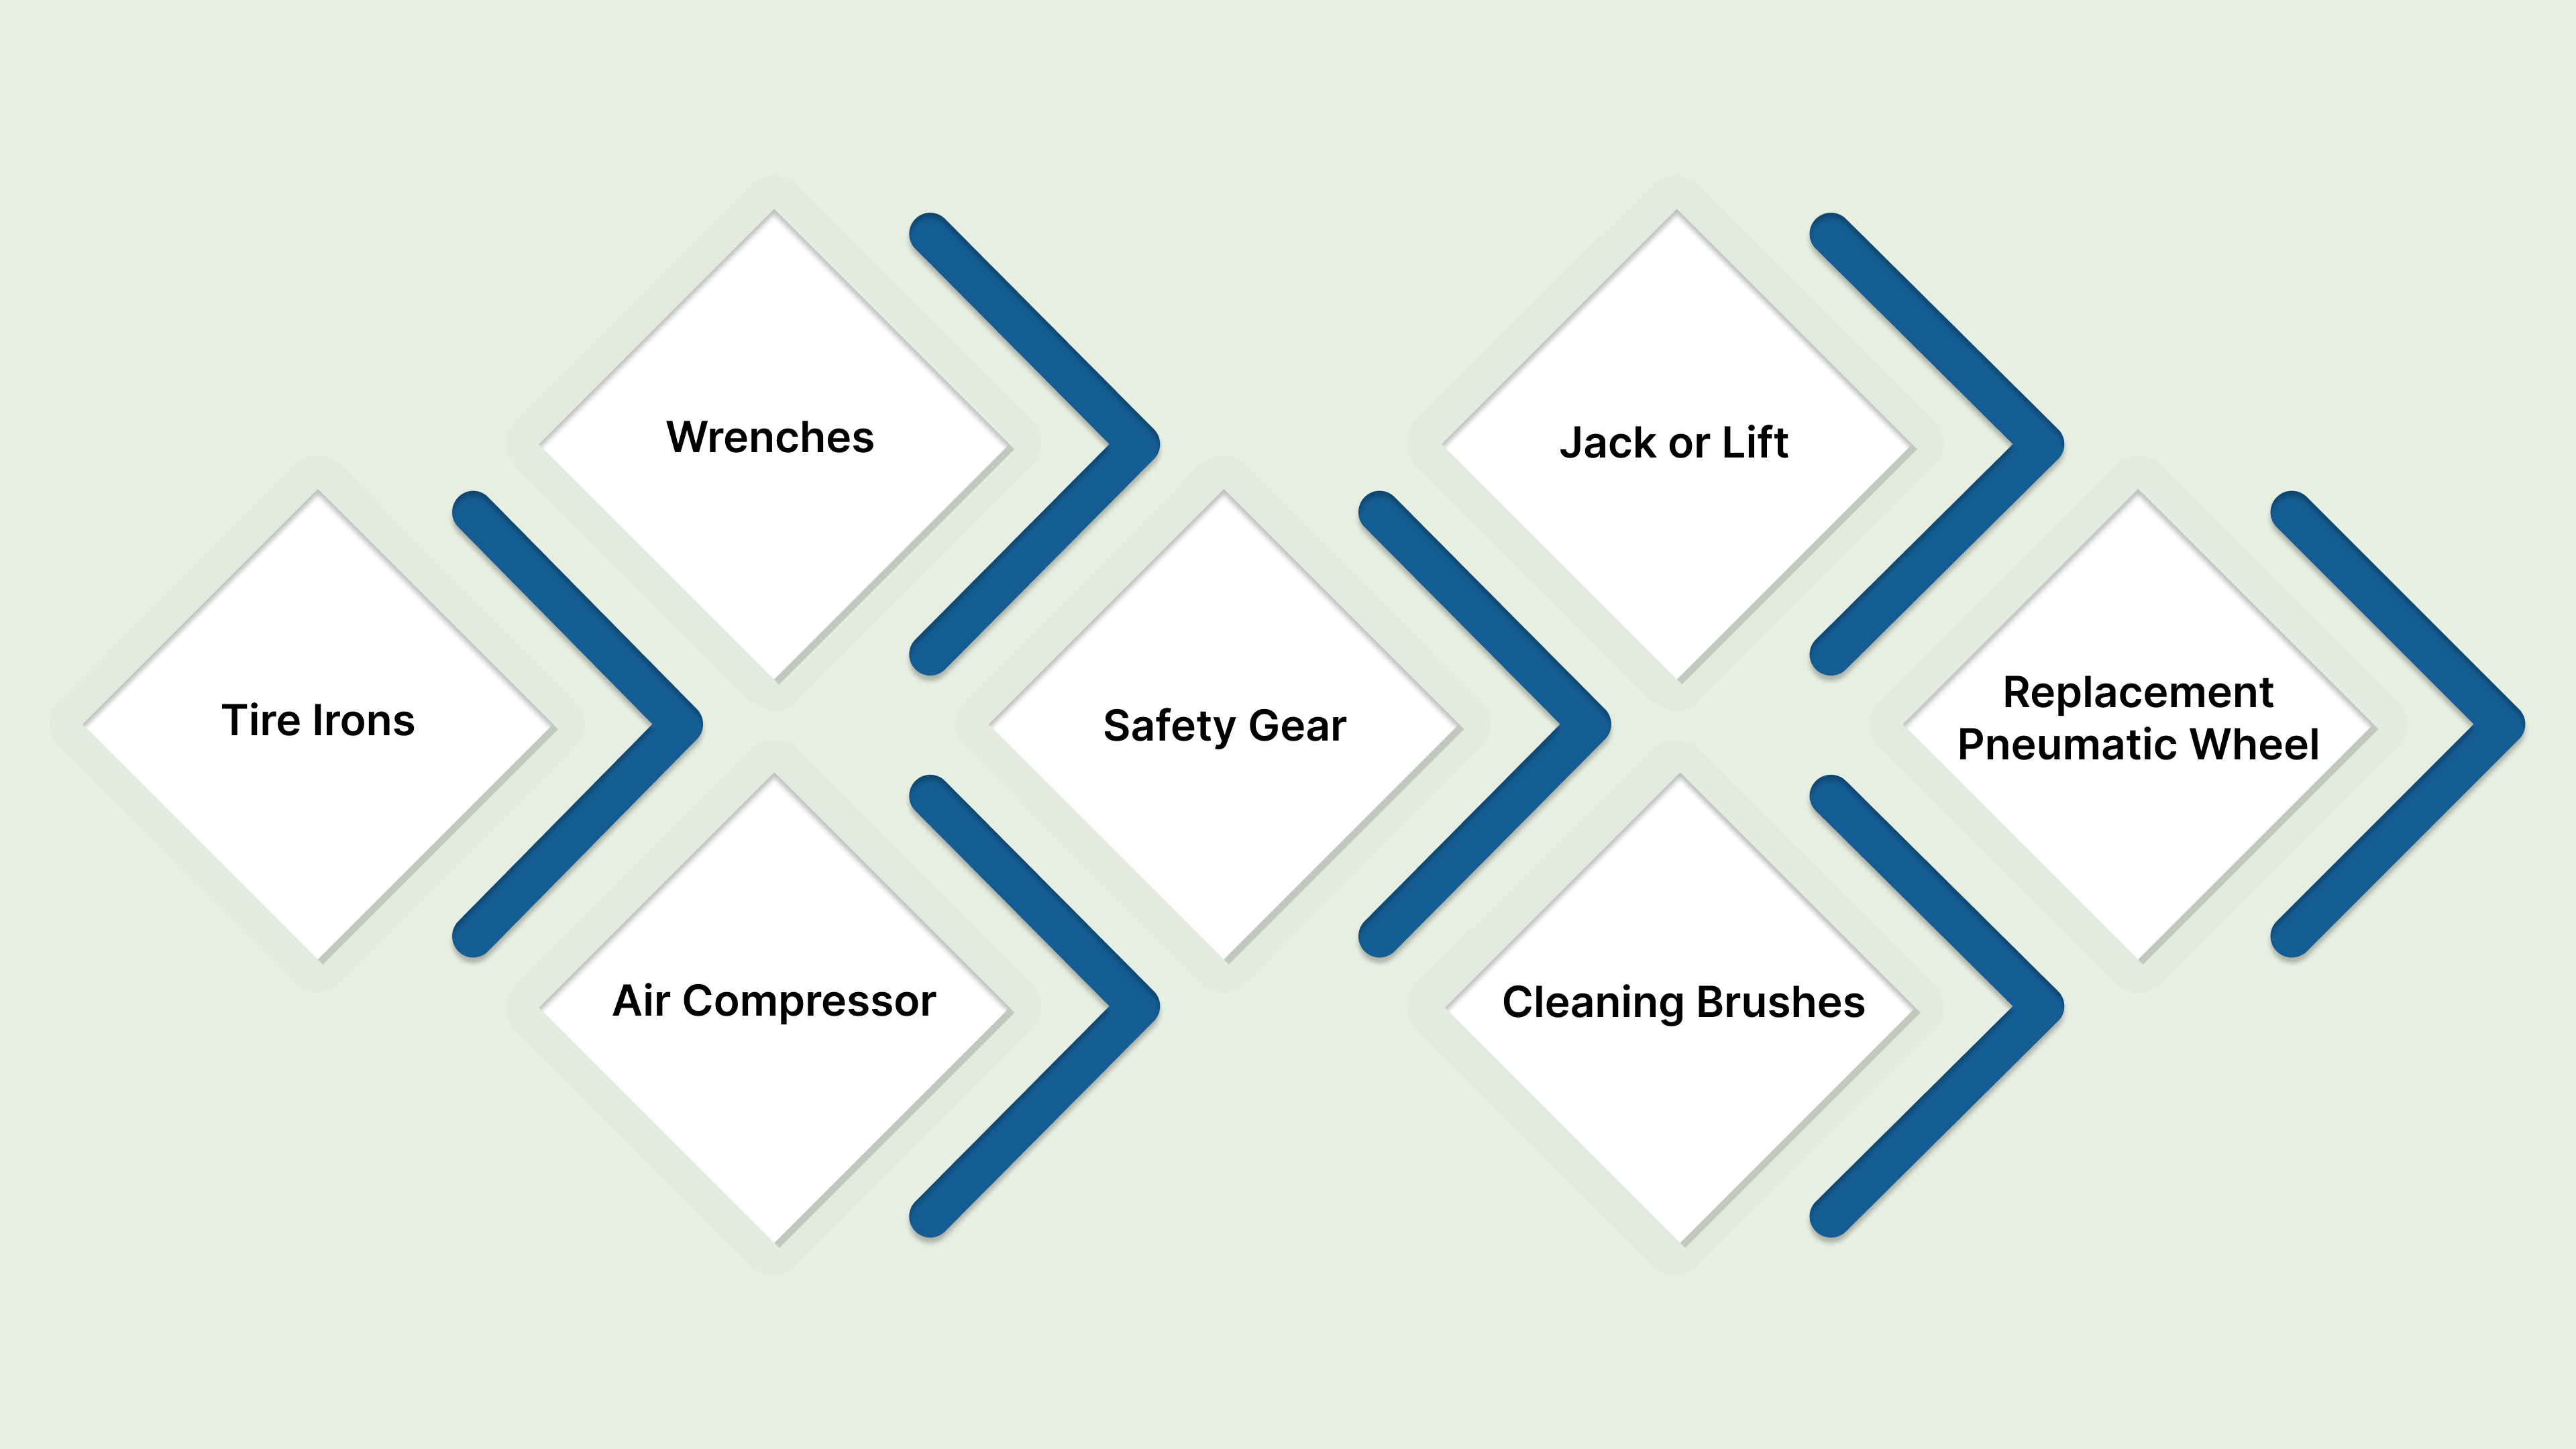
Tire Irons or Levers: Specialized tools for dismounting and mounting the tire. They help separate the tire from the rim without causing damage.
Wrenches or Socket Sets: Required to remove and reinstall the wheel assembly from the axle or hub. Choosing the correct size ensures bolts are handled safely and efficiently.
Air Compressor or Manual Pump: Used to inflate the new pneumatic tire accurately to manufacturer specifications, supporting proper performance and safety.
Safety Gear: Wear gloves and safety goggles to protect your hands and eyes from accidental injuries during removal and installation.
Jack or Lift: Essential for safely raising and securing the equipment or vehicle to access the wheel assembly without risk of tipping or damage.
Cleaning Brushes and Lubricants: Remove dirt, rust, or debris from the rim and components to ensure smooth assembly and long-term reliability.
Replacement Pneumatic Wheel: Always have the correct size and specification for your equipment to maintain stability, load capacity, and performance.
Preparing all tools beforehand reduces downtime, prevents mistakes, and ensures that equipment returns to service promptly. In the next section, let's look at the step-by-step procedure for replacing pneumatic wheels effectively.
How to Replace Pneumatic Wheels: Step-by-Step Process
Replacing pneumatic wheels requires a structured approach. Following the steps given below ensures safety, reduces the chance of damage, and helps maintain optimal equipment performance.
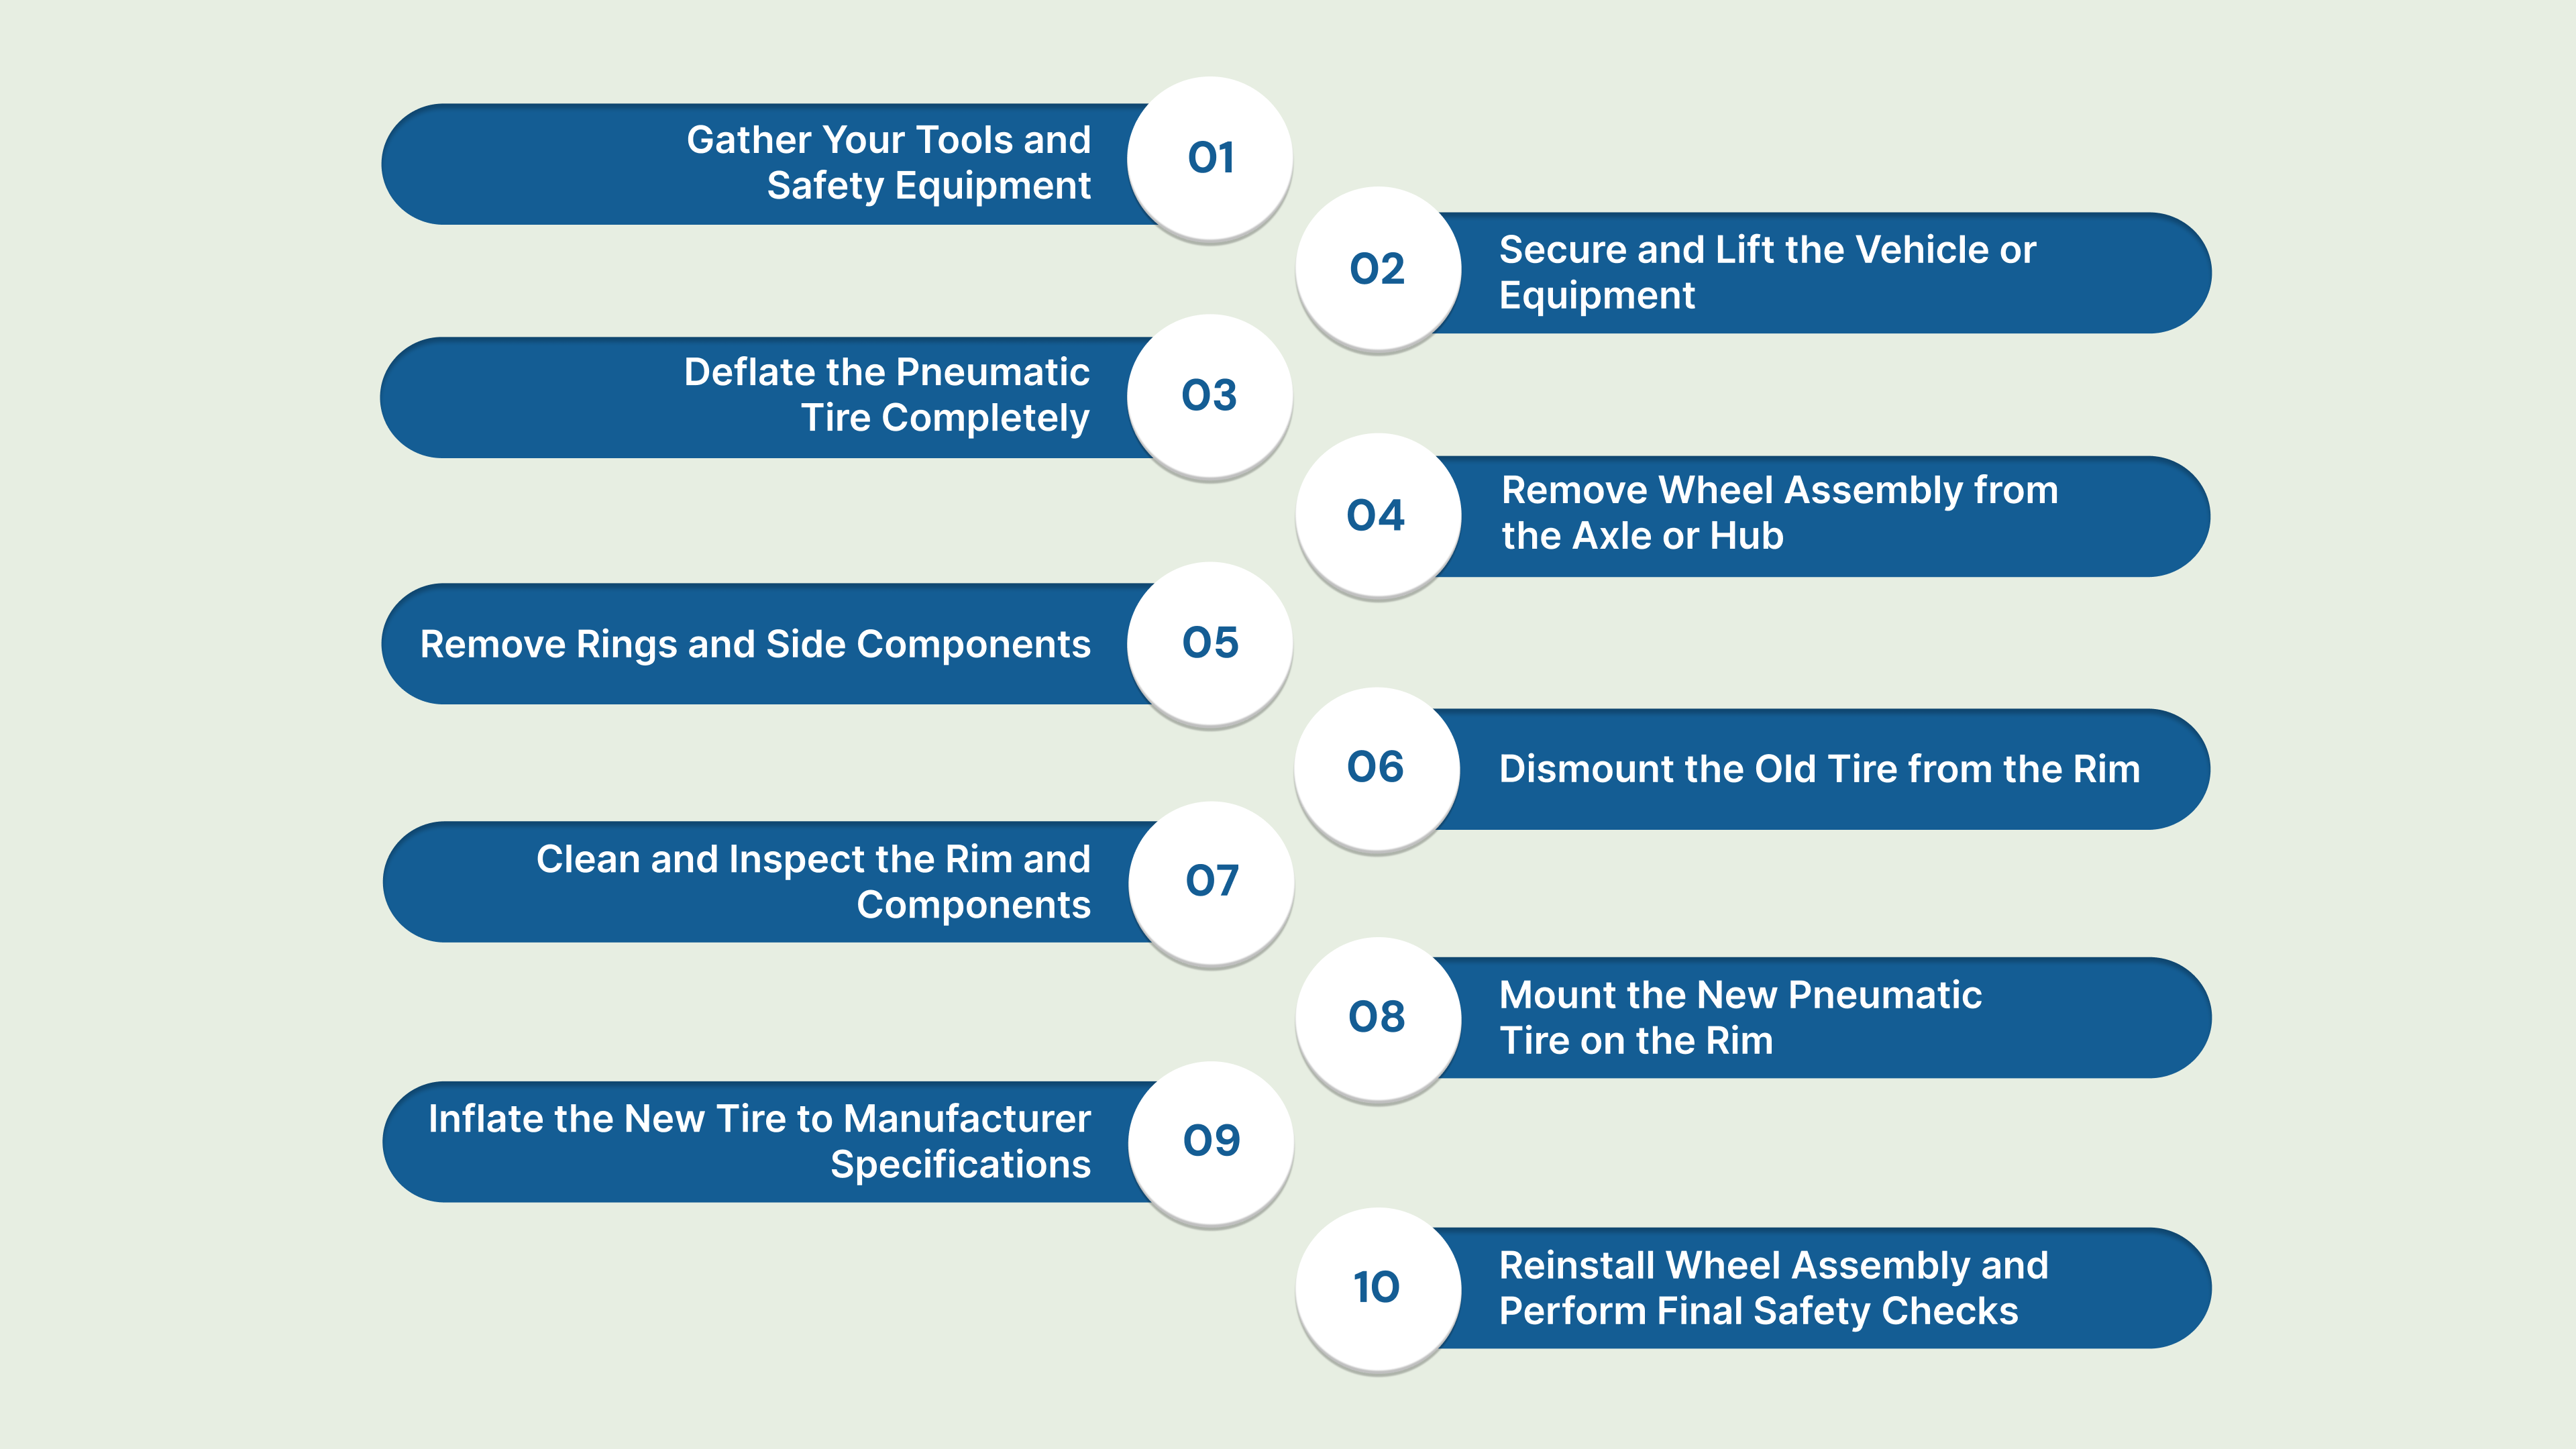
Gather Your Tools and Safety Equipment
Before starting, it’s essential to prepare all necessary tools and safety gear. Being organized prevents interruptions, ensures safety, and makes the replacement process more efficient.
Collect Essential Tools: Ensure tire irons, wrenches, socket sets, and a manual or air pump are ready for use. Having everything within reach saves time.
Use Protective Gear: Gloves and safety goggles protect against debris, accidental slips, and sharp components.
Organize Replacement Parts: Lay out the new wheel, rim components, and any side rings in an orderly manner for quick access.
Proper preparation at this stage sets the foundation for a smooth, risk-free wheel replacement.
Secure and Lift the Vehicle or Equipment
Securing and lifting the equipment is a crucial step for both safety and accessibility. Improper lifting can lead to accidents or equipment damage.
Stabilize Equipment: Use wheel chocks or supports to prevent unexpected movement while lifting.
Use a Jack or Lift: Position a jack under a strong, recommended point on the equipment and lift it steadily.
Double-Check Stability: Ensure the equipment is fully supported and stable before attempting to remove the wheel assembly.
Proper lifting ensures that subsequent steps can be performed efficiently and reduces the risk of injury or damage.
Deflate the Pneumatic Tire Completely
Fully deflating the tire minimizes tension on the rim and simplifies removal. Skipping this step can make dismounting difficult and potentially damage components.
Release Air via Valve Stem: Open the valve completely to let air escape, ensuring the tire is soft enough to remove safely.
Check for Remaining Pressure: Press gently on the tire to confirm no residual air remains.
Ensure a Clean Working Area: Keep tools and the workspace free from hazards to prevent slips or missteps during removal.
Deflating the tire fully prepares it for safe disassembly and prevents strain on the rim and side components.
Remove Wheel Assembly from the Axle or Hub
Once the equipment is lifted and the tire deflated, carefully removing the wheel assembly is the next crucial step. Proper handling prevents damage to both the wheel and the mounting points.
Loosen Fasteners Carefully: Use wrenches or socket sets to remove nuts, bolts, or other securing components.
Handle the Assembly Safely: Support the wheel assembly while detaching it to avoid dropping or damaging it.
Inspect Hub and Axle: Check for signs of wear, rust, or deformation before proceeding to the next step.
Removing the wheel assembly carefully ensures that all components remain intact for reinstallation.
Disassemble the Wheel: Remove Rings and Side Components
Disassembling the wheel allows access to the tire and ensures a complete replacement. Proper handling reduces the risk of component damage.
Remove Retaining Rings: Take off side rings or flanges that secure the tire to the rim.
Keep Components Organized: Place bolts, rings, and other small parts in a container to avoid misplacement.
Check Components for Wear: Inspect the rings, flanges, and hub for cracks or deformation to maintain equipment reliability.
Disassembly at this stage ensures a clean, controlled environment for removing the old tire and installing a new one.
Dismount the Old Tire from the Rim
Removing the old tire carefully ensures the rim remains undamaged and ready for the new tire.
Use Tire Levers or Irons: Gently pry the tire off the rim, working evenly around the circumference.
Avoid Excessive Force: Forcing the tire can damage the rim or side components, complicating reinstallation.
Inspect the Rim: Look for rust, bends, or debris that could affect the new tire's fit.
This step prepares the rim for a secure, balanced fit for the new tire.
Clean and Inspect the Rim and Components
Before installing the new tire, a clean and inspected rim ensures proper seating and long-term performance.
Clean Thoroughly: Remove dirt, rust, or leftover debris from the rim, hub, and side components.
Check for Structural Integrity: Inspect for cracks, bends, or corrosion that could compromise the new tire.
Lubricate Beads Lightly: Apply a thin layer of appropriate lubricant to ease mounting and ensure even seating.
Cleaning and inspection at this stage prevent installation issues and support equipment longevity.
Mount the New Pneumatic Tire on the Rim
Installing the new tire correctly ensures balance, safety, and smooth performance.
Position the Tire Carefully: Align the tire bead with the rim evenly to avoid pinching or misalignment.
Use Tire Levers Gently: Gradually seat the tire on the rim, working evenly around the wheel circumference.
Check Bead Seating: Ensure the tire sits flush on both sides of the rim before inflation.
Proper mounting guarantees that the tire is secure, balanced, and ready for operation.
Inflate the New Tire to Manufacturer Specifications
Inflating the tire to the correct pressure is crucial for safety, mobility, and load-bearing performance.
Use a Calibrated Pressure Gauge: Monitor inflation accurately to match manufacturer specifications.
Inflate slowly: Prevents uneven bead seating or overexpansion that could damage the tire.
Confirm Tire Stability: Check for leaks or bulges before reinstalling the wheel assembly.
Correct inflation ensures optimal performance, reduces strain on equipment, and maintains operator safety.
Reinstall Wheel Assembly and Perform Final Safety Checks
The final step secures the wheel assembly and verifies safe operation before returning the equipment to service.
Align Wheel on Axle/Hub: Slide the assembly back into position, ensuring it is centered and stable.
Tighten Fasteners Securely: Use proper torque to secure bolts and nuts while avoiding over-tightening.
Perform Safety Checks: Verify alignment, tire pressure, and rotation to confirm proper installation.
A thorough final inspection ensures that the replacement is complete, safe, and ready for operational use.
In the following section, let's explore the benefits of properly maintained pneumatic wheels for your operations.
Benefits of Pneumatic Wheels
Using pneumatic wheels (when properly maintained) provides several operational advantages that directly impact operational KPIs.
Here are some key benefits:
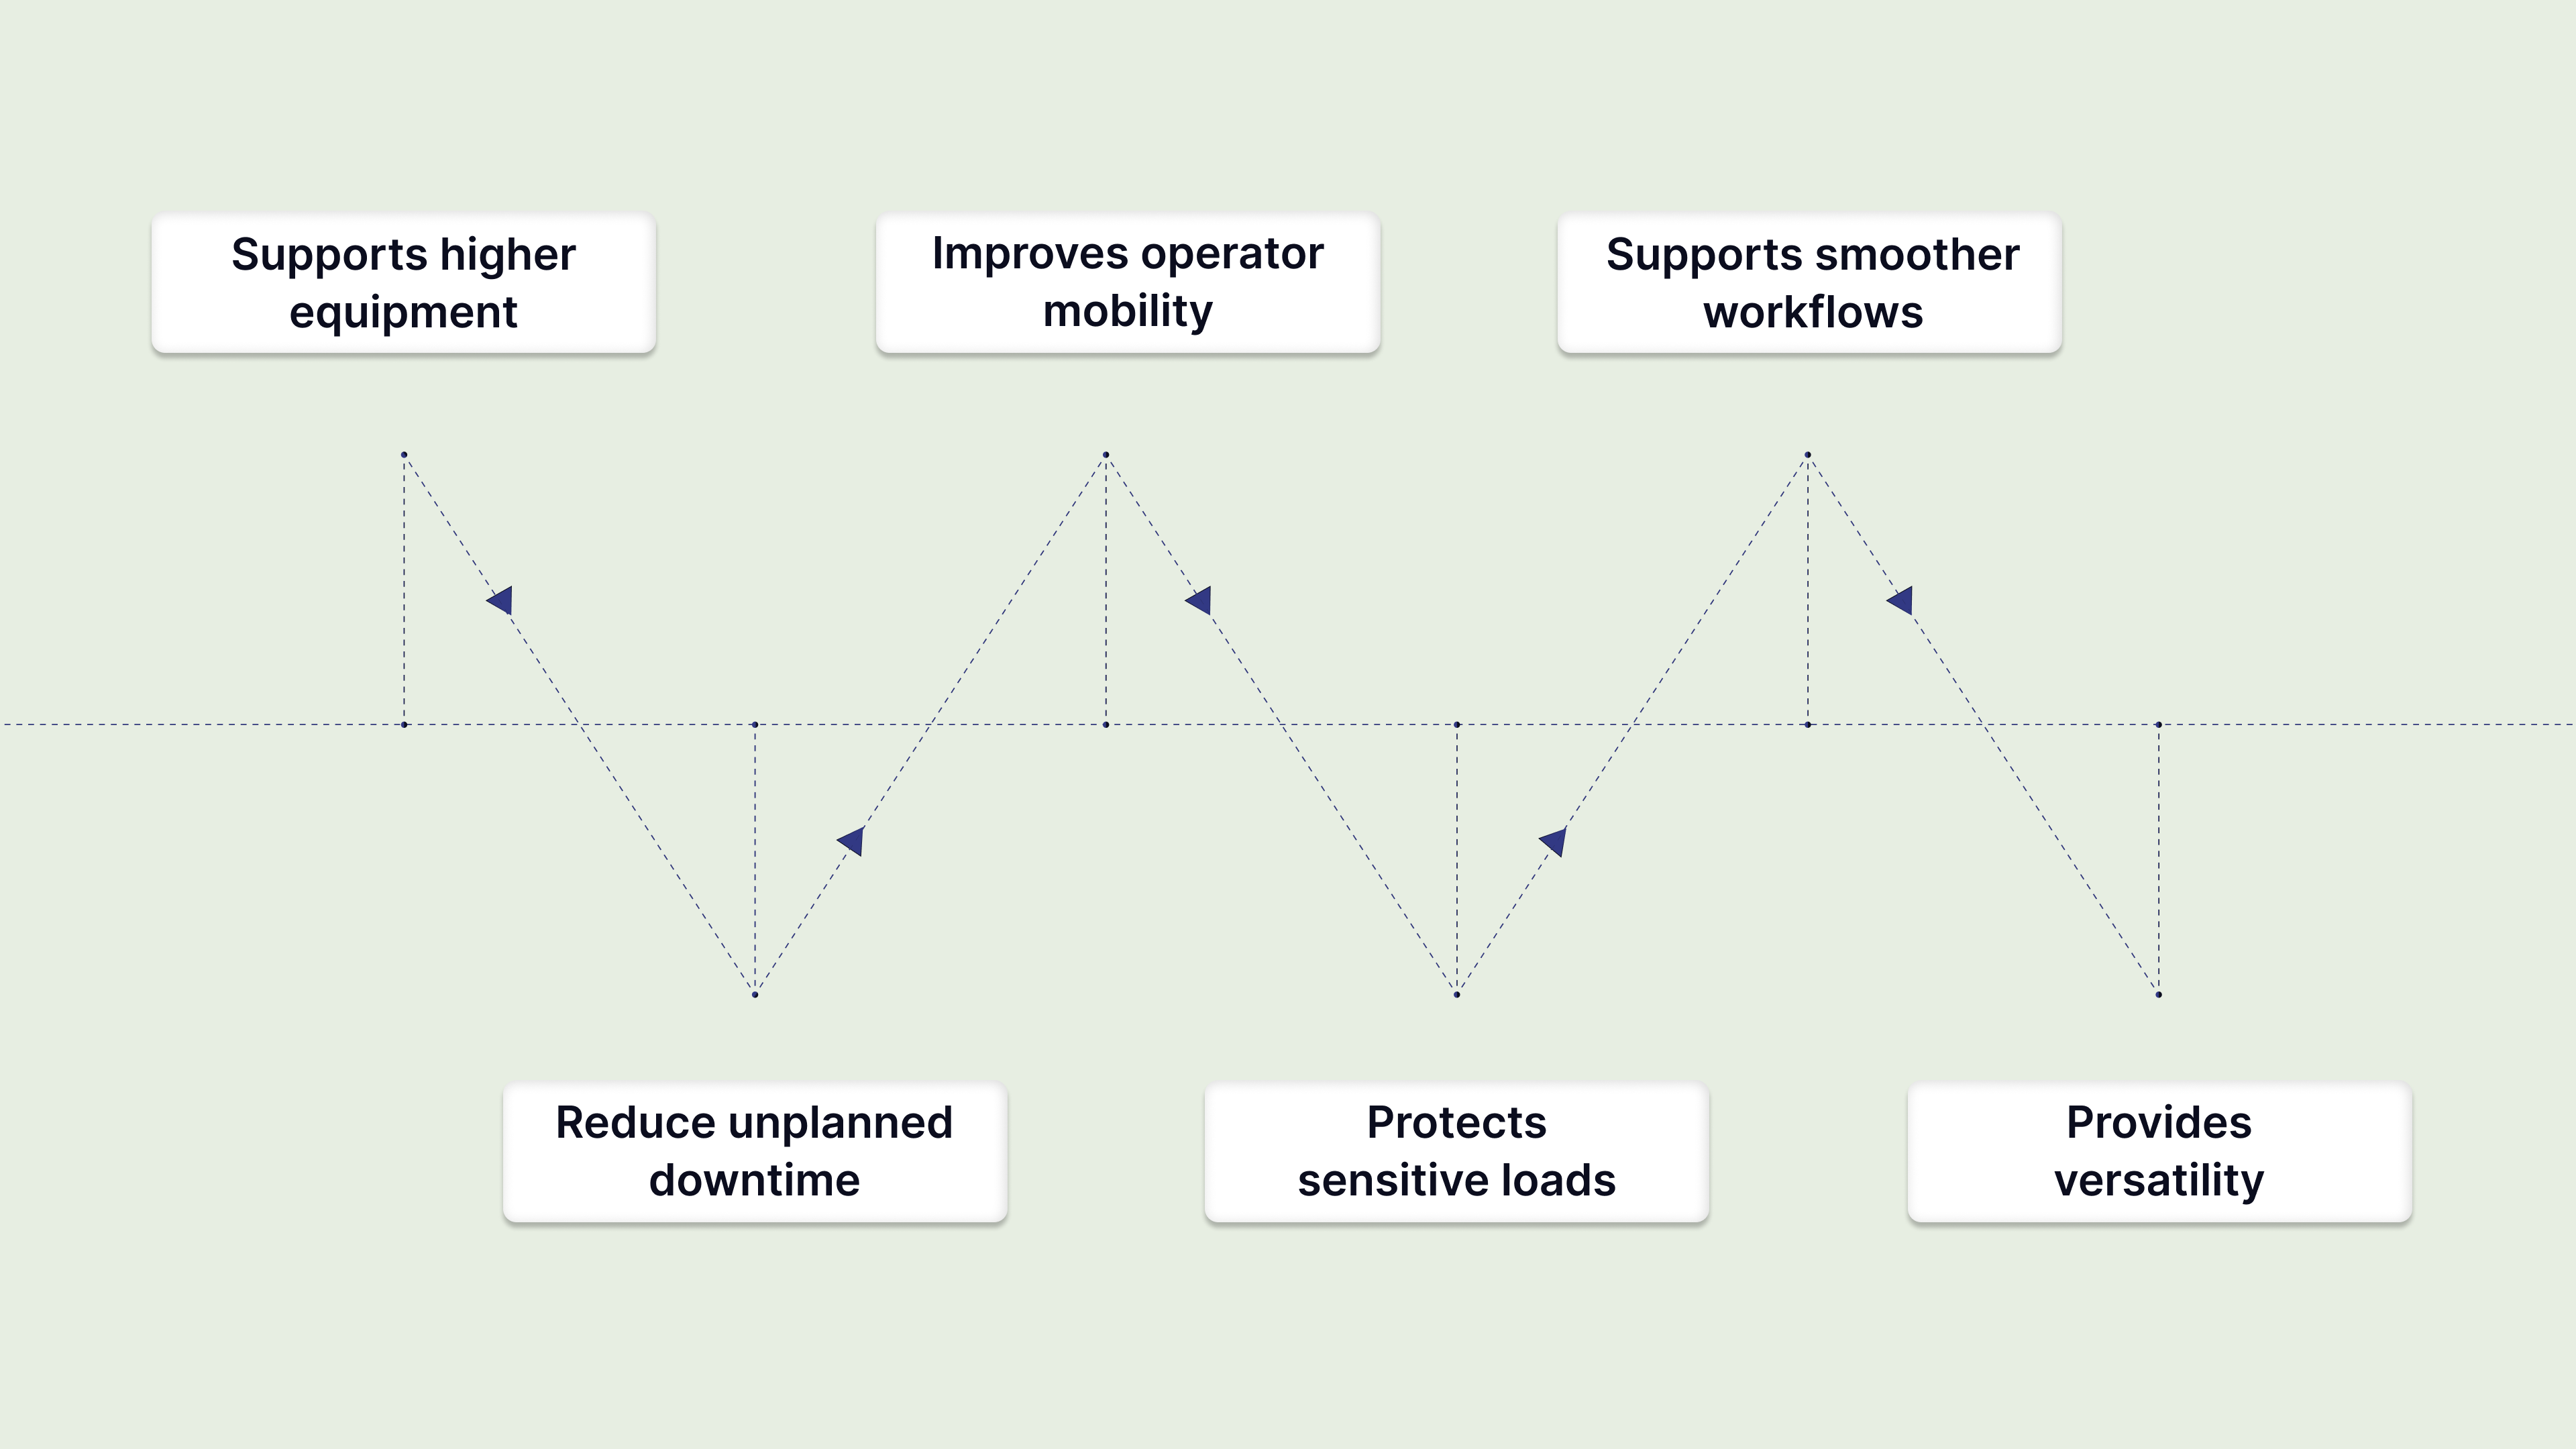
Supports higher equipment uptime: Their air-cushioned structure absorbs shocks and vibration, reducing stress on bearings, axles, and other components. This helps the equipment run longer between maintenance intervals.
Helps reduce unplanned downtime: By minimizing impact-related wear, pneumatic wheels prevent premature failures. This supports stable operations, especially where carts and mobile units run continuously.
Improves operator mobility and control: The air-filled design makes moving across uneven floors or outdoor surfaces easier, enhancing handling safety and reducing physical strain.
Protects sensitive loads and reduces scrap rates: Pneumatic cushioning limits vibration transfer to transported materials, reducing handling damage for fragile or precision-machined items.
Supports smoother workflows and throughput: Consistent, low-resistance movement keeps material flow predictable, reduces bottlenecks, and supports better timing across operations.
Provides versatility across different surfaces: Pneumatic wheels maintain traction on rough or uneven terrain, often eliminating the need for multiple wheel types and simplifying procurement.
These benefits make pneumatic wheels a smart investment for industrial, medical, and commercial equipment. Next, let’s examine common issues and how to address them.
Common Challenges in Replacing Pneumatic Wheels
Replacing pneumatic wheels can pose challenges if you don’t approach it methodically. Here are common issues and how to solve them.
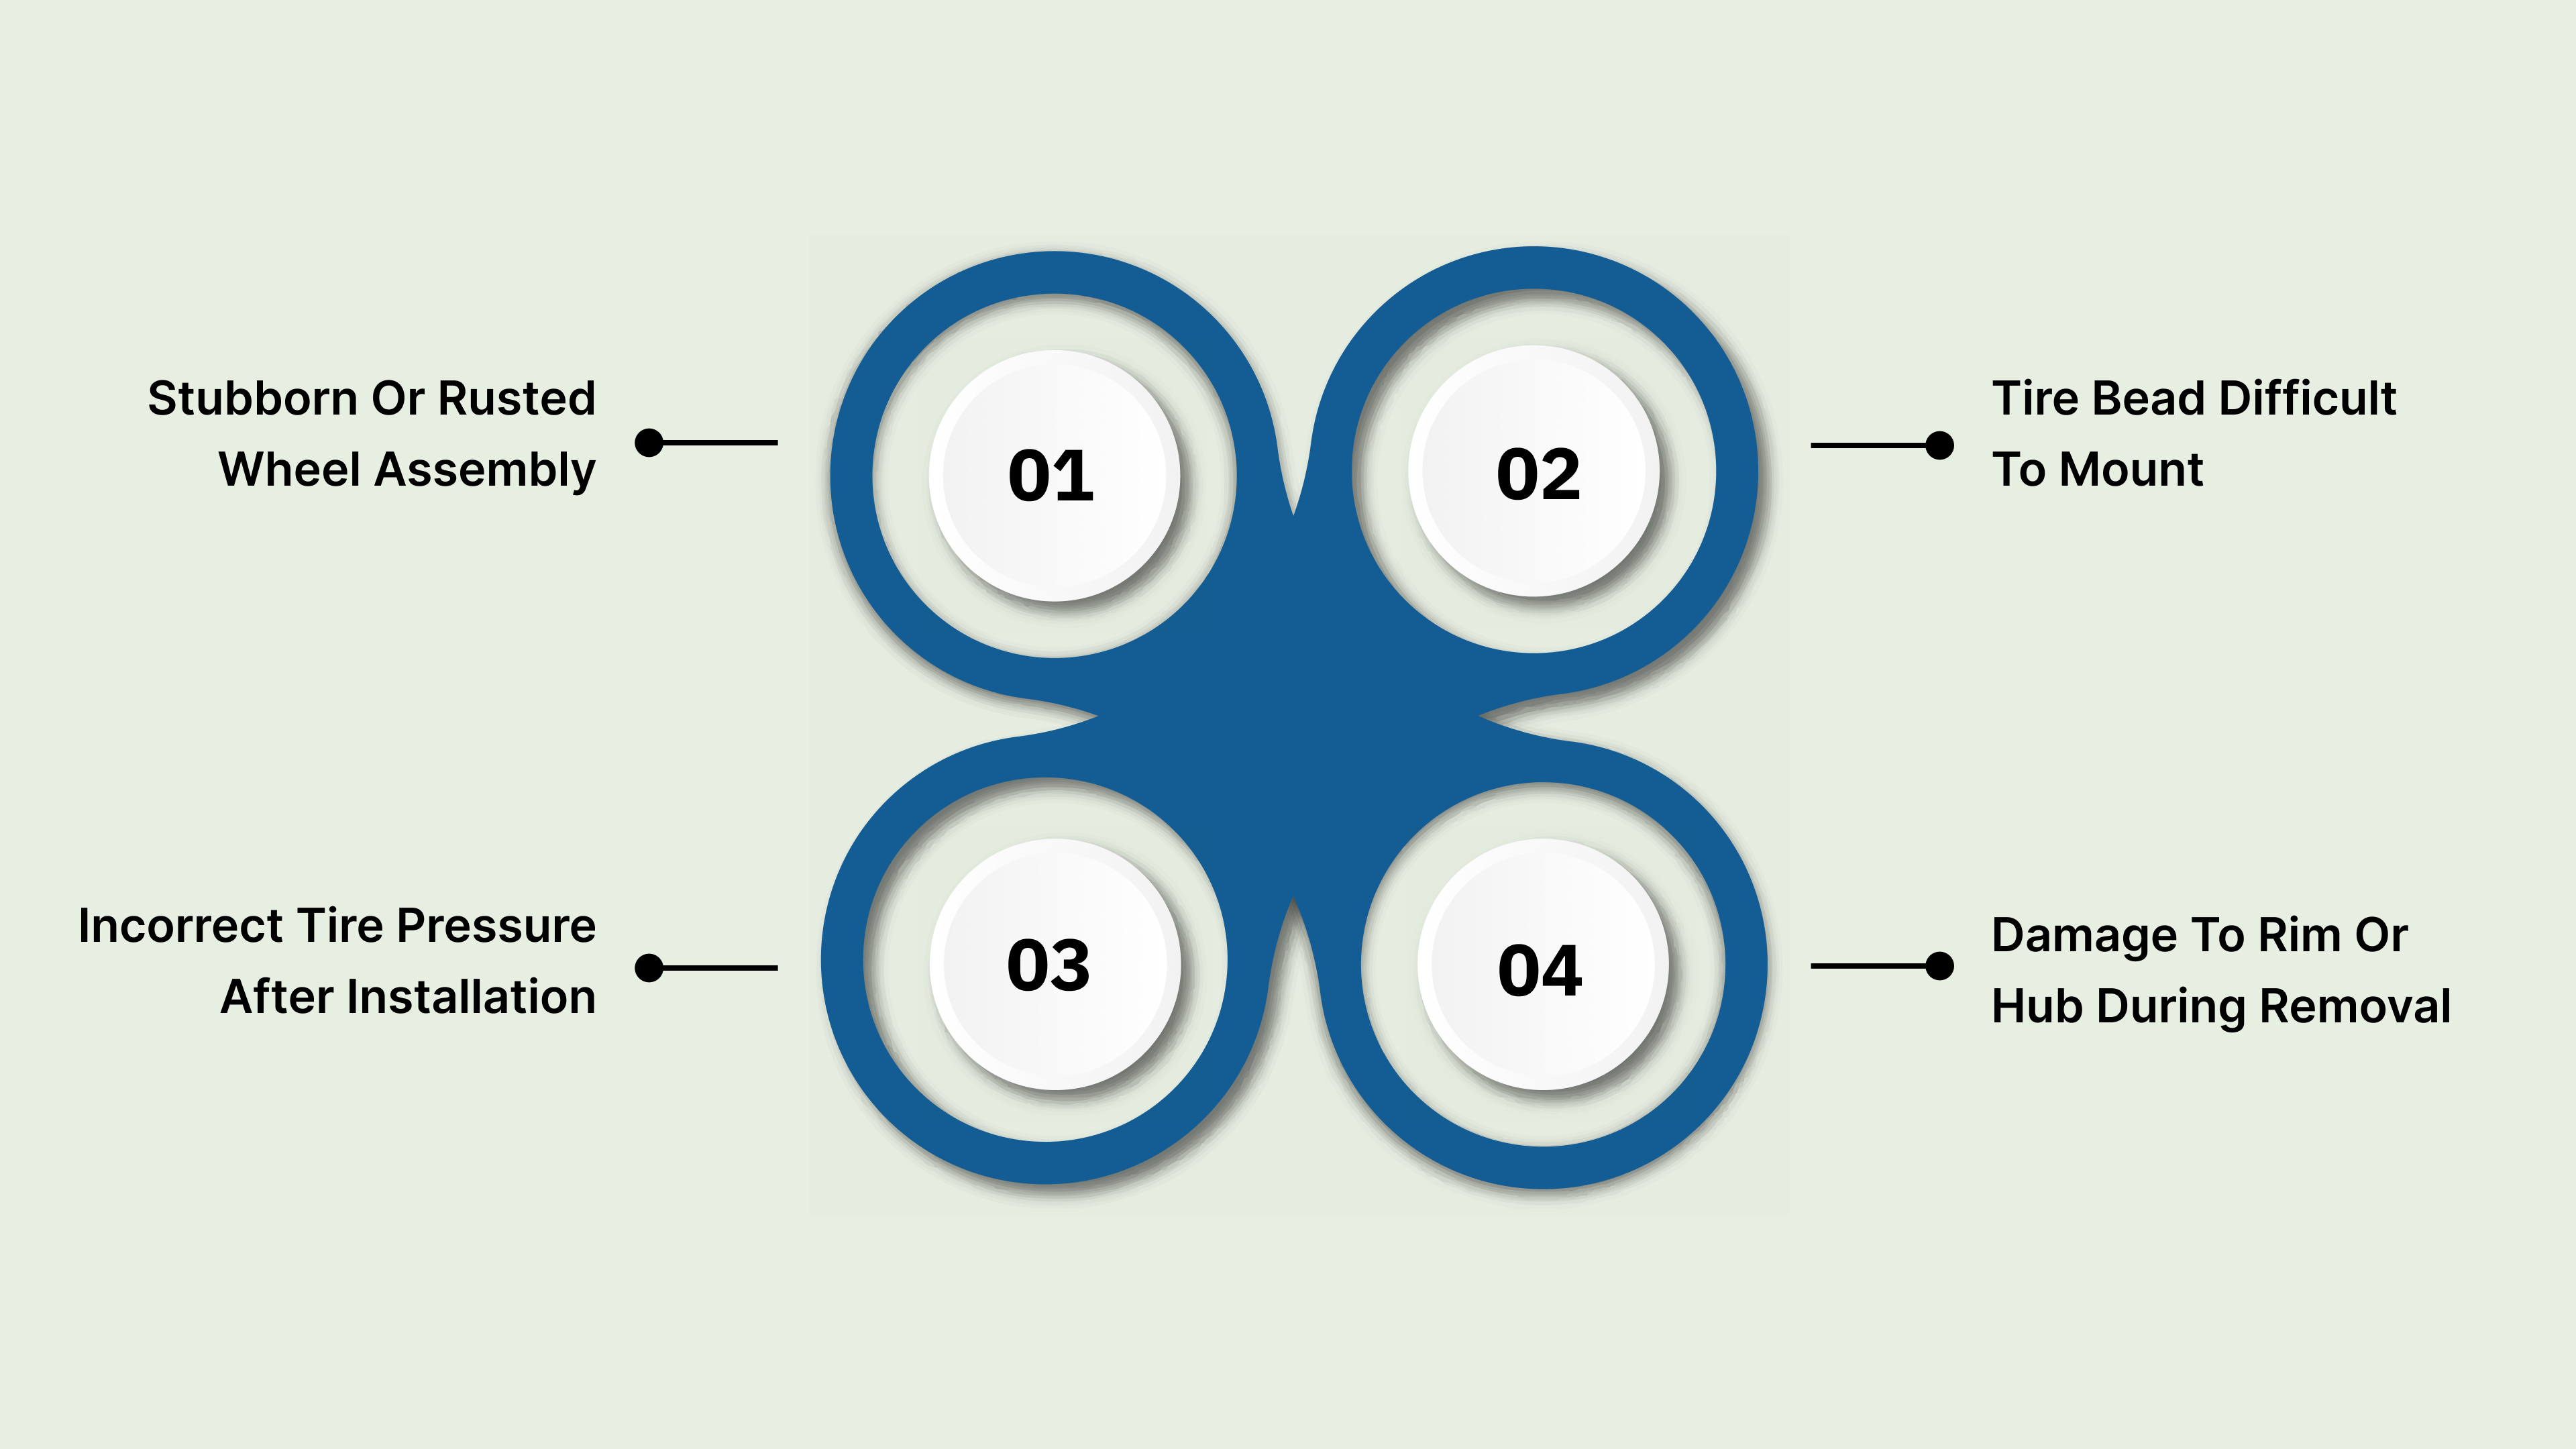
1. Stubborn or Rusted Wheel Assembly
Rusted hardware or tight bolts can slow down replacement and risk axle or hub damage. Equipment exposed to moisture, chemicals, or heavy daily use often develops this issue.
How you can fix it:
Apply a penetrating lubricant to loosen corroded nuts and bolts.
Use the correct wrenches or impact tools for controlled removal.
Replace any severely rusted components to maintain a secure installation.
2. Tire Bead Difficult to Mount
A stiff or misaligned bead can frustrate mounting and waste time. Forcing it may cause leaks or improper seating.
How you can fix it:
Lightly lubricate the bead area to help it slide into place.
Use tire levers carefully to avoid damaging the rim or tire.
Check that the bead is seated evenly before inflating.
3. Incorrect Tire Pressure After Installation
Improper tire pressure reduces stability, load capacity, and equipment mobility. Overinflating or underinflating causes uneven wear and lowers uptime.
How you can fix it:
Use a calibrated pressure gauge for accurate readings.
Inflate gradually and recheck pressure before deployment.
Follow manufacturer guidelines for recommended PSI.
4. Damage to Rim or Hub During Removal
Improperly supporting equipment or using the wrong tools can damage the rim or hub. Even minor damage affects alignment, wheel stability, and long-term performance.
How you can fix it:
Inspect rims, hubs, and fasteners for cracks or deformation.
Use proper lifts or jacks to stabilize equipment before removal.
Replace worn parts to avoid future failures or repeat downtime.
How Humphries Casters and Supplies Can Simplify Your Pneumatic Wheel Replacement?
Humphries Casters and Supplies provides a broad selection of pneumatic wheels, replacement parts, and material handling solutions tailored to your business needs. Their experienced team can advise on proper tools, suitable replacements, and best practices for safe installation.
Here’s how we can assist you:
Extensive Inventory: Humphries offers a wide range of pneumatic wheels and components for industrial, medical, and commercial equipment, helping teams quickly source the right fit without compatibility issues.
Custom Solutions: Access to 400+ global factories allows Humphries to produce wheels built to exact specifications when standard parts don’t meet load, size, or environmental needs.
Expert Guidance: Since 1988, Humphries has supported top manufacturers and healthcare facilities, providing selection advice that reduces installation errors and maintains equipment uptime.
Fast Sourcing: A strong supply chain enables quick delivery of wheels and parts, helping maintenance teams avoid downtime and stay aligned with service schedules.
Trusted Service” Family-owned support prioritizes responsive communication, practical recommendations, and long-term reliability to improve safety and performance.
Humphries can help streamline replacements, provide guidance on tools and materials, and support operational efficiency. Their family-owned approach ensures personalized support, making complex replacements easier and safer.
Conclusion
Timely replacement of pneumatic wheels is crucial for safety, operational performance, and equipment longevity. Following structured, step-by-step procedures, using the correct tools, and inspecting components can help reduce downtime, improve throughput, and maintain consistent equipment reliability.
Utilizing expert guidance and quality products from suppliers like Humphries Casters and Supplies can simplify the process, support operational decision-making, and reduce maintenance risks. If you need help sourcing replacement pneumatic wheels or custom sizes, contact us today.
FAQs
1. How do I properly loosen and remove the old pneumatic wheel?
Ensure the equipment is safely supported and immobilized. Use the correct tools to loosen the nuts or bolts securing the wheel. Remove any retaining clips, then carefully slide the wheel off the hub, taking care not to damage the axle or surrounding components.
2. How do I check if the new pneumatic wheel is correctly inflated and ready for use?
Use a reliable pressure gauge to measure the tire pressure and compare it with the manufacturer’s recommended range. Ensure the tire holds air without leaks, the valve is secure, and the wheel spins freely without wobbling before installing it on your equipment.
3. Can I replace pneumatic wheels myself, or should I hire a professional?
Simple replacements on small carts or trolleys can often be done safely by yourself with proper tools and precautions. For heavy machinery or complex equipment, it’s safer to hire a professional to avoid injury or damage.
4. What are the differences in replacing pneumatic wheels on different types of equipment (e.g., forklifts, pallet jacks, vehicles)?
Replacement procedures vary based on weight, hub design, and mounting system. Small equipment usually involves bolts or nuts, while forklifts and vehicles may require lifting, alignment tools, and strict torque specifications. Always follow equipment-specific manuals for safe replacement.
5. How to handle a tire that is difficult to fit onto the hub during replacement?
Lubricate the hub and tire bead with soap solution or approved lubricant, align the tire carefully, and use even pressure to slide it onto the hub. Avoid forcing it, as this may damage the tire or wheel. Using a tire mounting tool can simplify the process.